GKE + Cloud Nat to connect cloud mongodb atlas
在 cloud mongodb atlas 因為 IP Access List 跟 Peering 的方式無法解決公司產品問題 (GKE Cluster 建立出來的 pod vm IP 是浮動的, cloud mongodb whitelist 就要頻繁更新), 所以改用 GCP 提供的 Cloud NAT 方法來解決。
We are going to do the following steps:
- Create a GKE cluster with private nodes
- Create a router and connect it with the cluster network
- Preserve a static ip address and assign it to the router
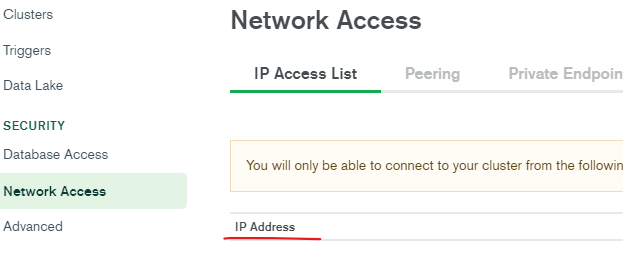
- Allowlist this ip address in MongoDB Atlas IP Access List
如果你要使用 Autopilot ver 的 cluster, 在開始之前記得先確保你的 gcloud version 有支援 autopilot, 然後先登入並設定你的 gcp project
gcloud config set project PROJECT_ID
gcloud config set compute/zone COMPUTE_ZONE (可以不設定)
gcloud config set compute/region COMPUTE_REGION (可以不設定,然後底下的指令再加)
gcloud components update (如果 update 後查看 version 還是沒上去新版本,我建議直接重新安裝他們 sdk 蓋過去會比較快)
-
先建立 cluster
- Autopilot
gcloud container clusters create-auto YOUR_CLUSTER_NAME \
--region YOUR_REGION \
--enable-private-nodes \
--no-enable-master-authorized-networks- Standard
gcloud container clusters create YOUR_CLUSTER_NAME \
--region YOUR_REGION \
--no-enable-master-authorized-networks \
--enable-ip-alias \
--enable-private-nodes \
--master-ipv4-cidr 172.16.0.0/28
optional: (下面有要用到的話, 你要建完再去 gke 介面那邊一個一個更新也行, 但我是不建議, reload 的時間太久了)
--enable-master-global-access \
--no-issue-client-certificate \
--enable-identity-service \
--enable-intra-node-visibility \
--workload-pool=YOUR_PROJECT_ID.svc.id.goog \
--enable-service-externalips \
--enable-vertical-pod-autoscaling-
region一定要正確對應到 cloud mongodb 的 region (ex: asia-east1 or asia-east1-a)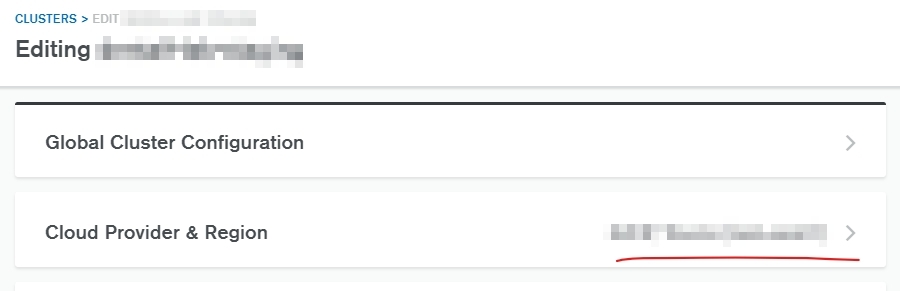
-
--enable-ip-alias: This will require at least two secondary ranges in the subnetwork: one for the pods and another for services, for VPC-Nat use -
--enable-private-nodes: created with no public IP addresses -
--master-ipv4-cidr: Valid Private IPv4 address ranges -
--no-enable-master-authorized-networks: When disabled, public internet (0.0.0.0/0) is allowed to connect to Kubernetes master through HTTPS (方便除了 nat-route 之外, 自己想連比較不麻煩) -
如果沒建過 Nat Router, 建立途中應該會看到 warning, 第一個 Warning 是因為我們 enable private (Autopilot cluster 預設是 public), 剛好這個 warning 就是後續要處理的步驟 (建立自己的 Nat Router)
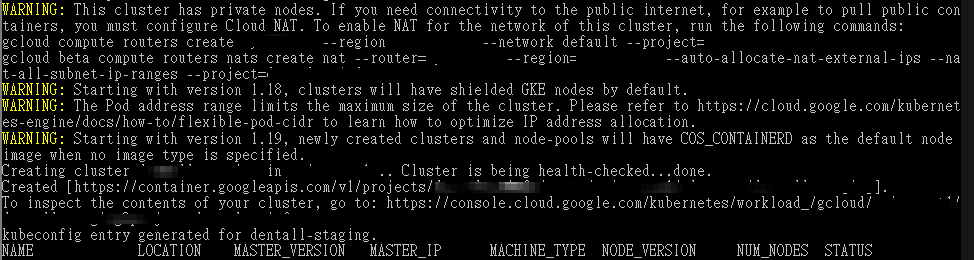
-
Enabling outbound internet access on private clusters with Cloud NAT
gcloud compute routers create YOUR_ROUTER_NAME --network YOUR_NETWORK --region YOUR_REGION --project=YOUR_PROJECT_IDnetwork就是在指 gcp 的 VPC network, 看你自己是設定哪個, gcp 預設是default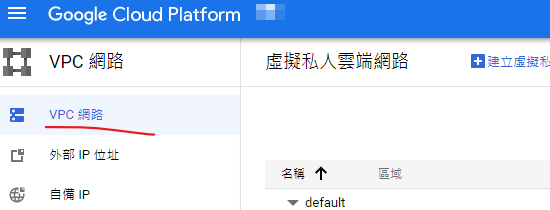
-
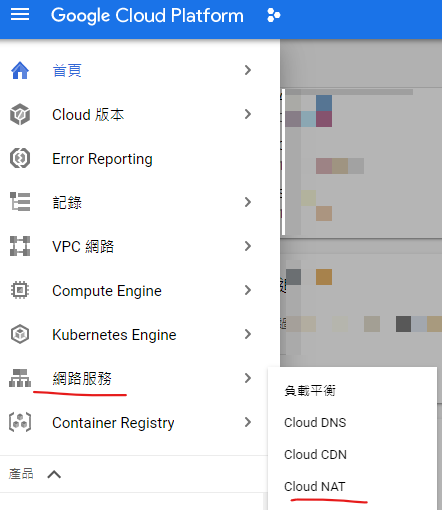
設定好 router 後再來設定對應的 Cloud NAT
gcloud compute routers nats create YOUR_NAT_NAME --region YOUR_REGION --router YOUR_ROUTER_NAME --nat-all-subnet-ip-ranges --auto-allocate-nat-external-ips --project=YOUR_PROJECT_IDrouter就是指我們剛剛建立的router name--nat-all-subnet-ip-ranges
--auto-allocate-nat-external-ips上面配置允許區域內的所有實例使用 Cloud NAT 來處理所有主要和別名的 IP 範圍, 並且自動分配 NAT 閘道的外部 IP 位址
因為這樣他是自動幫你建立一個 IP 位址 我們自行去 VPC network 底下的 外部 IP 位址去新增一個自訂的 IP 給 Cloud NAT 使用
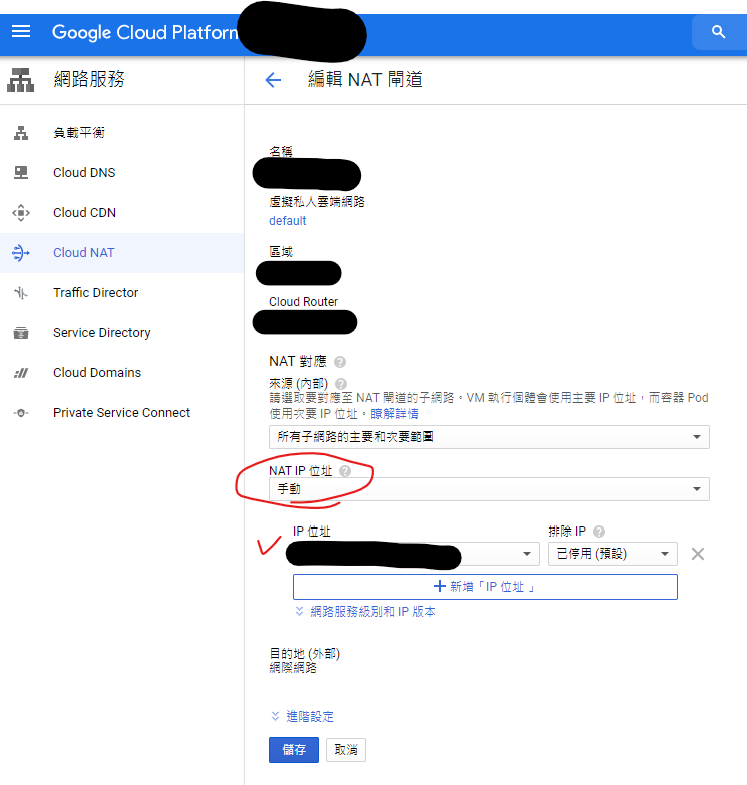
建立 cloud nat 的時候因為區域是單一的, 意思是你建立了一個 REGION (ex: asia-east1) 的 nat 後, 建立新的 nat 的時候不能建立同區的, 所以你要增加通道(ip) 請在該區域的 nat 裡面設定額外的 ip
這樣 GCP 這邊就連接完成了 最後只要去 cloud mongodb atlas 的 whitelist 新增剛剛的 IP 位址, 就可以讓 gke 被授權連接使用 mongodb 的資料
實際 deploy 到 GKE
-
先隨便寫一個 server 並連線 mongo, 並 build docker image
server.jsconst express = require('express');
const mongoose = require('mongoose');
const app = express();
mongoose.connect('mongodb+srv://<username>:<password>@<cluster>.mongodb.net/<dbname>?retryWrites=true&w=majority');
const db = mongoose.connection;
db.on('error', console.error.bind(console, 'connection error:'));
app.get('/api', (req, res) => {
res.send('Hello World');
});
app.listen(3000, () => {
console.log('Server is running on port 3000');
});FROM mhart/alpine-node:16
WORKDIR /
RUN npm config set loglevel warn
COPY package*.json /
RUN yarn install
COPY . .
EXPOSE 1234
CMD ["node", "src/index.js"] -
然後 build image & deploy to gke
deployment.ymlapiVersion: apps/v1
kind: Deployment
metadata:
name: your-name
namespace: your-namespace
spec:
replicas: 1
selector:
matchLabels:
app: your-name
template:
metadata:
labels:
app: your-name
spec:
containers:
- name: your-name
image: asia.gcr.io/your-image-path/server:VERSION_TAG
imagePullPolicy: Always
envFrom:
- configMapRef:
name: your-config-map
ports:
- containerPort: 1234
livenessProbe:
httpGet:
path: /api/
port: 1234
initialDelaySeconds: 60
timeoutSeconds: 30
periodSeconds: 60
readinessProbe:
httpGet:
path: /api/
port: 1234deploy.yml# ...
toGke:
needs: setEnv
if: contains( github.event.base_ref, 'master')
runs-on: ubuntu-latest
permissions:
id-token: write
contents: read
steps:
- name: Checkout
uses: actions/checkout@v4
- id: 'cicd'
name: Authenticate to Google Cloud
uses: google-github-actions/auth@v2
with:
workload_identity_provider: ${{ secrets.GCP_WORKLOAD_IDENTITY_PROVIDER }}
service_account: ${{ secrets.GCP_SERVICE_ACCOUNT }}
- name: Set up Cloud SDK
uses: google-github-actions/setup-gcloud@v2
- name: Build and Push to Gcs
run: |
gcloud auth configure-docker
docker build -t asia.gcr.io/$PROJECT_ID/$SERVICE_NAME/server:${{ needs.setEnv.outputs.SOURCE_TAG }} -f Dockerfile .
docker push asia.gcr.io/$PROJECT_ID/$SERVICE_NAME/server:${{ needs.setEnv.outputs.SOURCE_TAG }}
- name: Deploy
id: deploy
run: |
gcloud container clusters get-credentials ${{ secrets.CLUSTER }} --region ${{ secrets.REGION }}
kubectl config set-context --current --namespace=${{ secrets.NAMESPACE }}
sed -e 's|VERSION_TAG|'"${{ needs.setEnv.outputs.SOURCE_TAG }}"'|g' deployment.yml | kubectl apply -f -
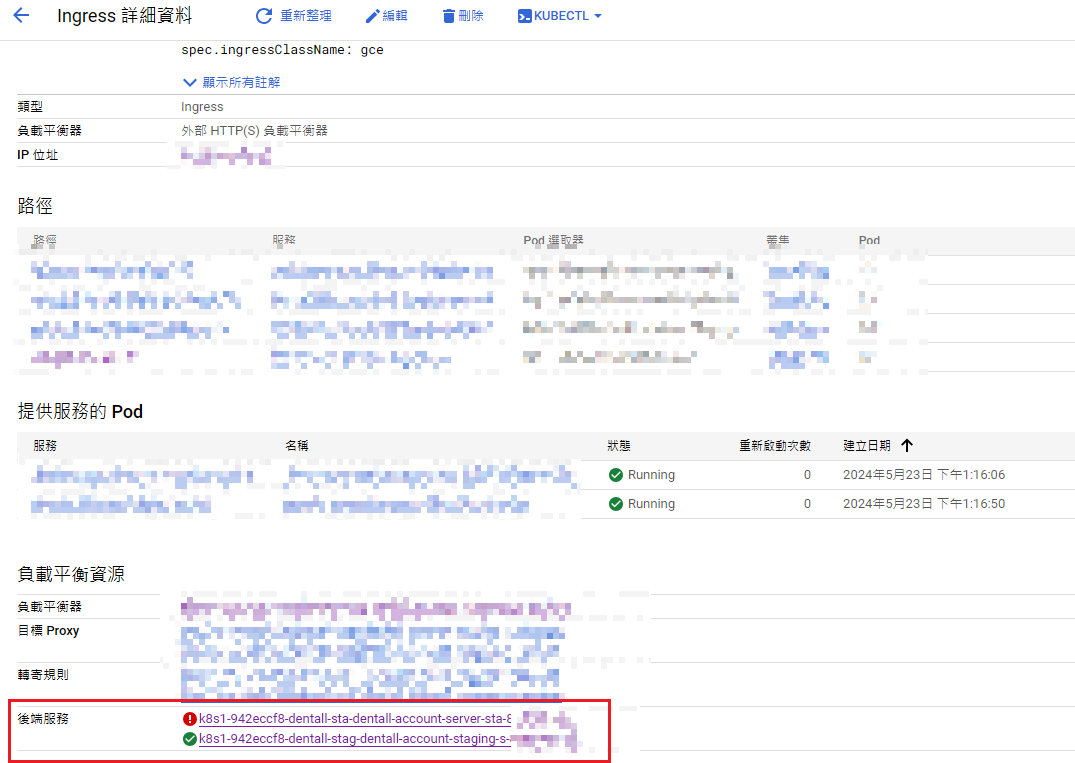
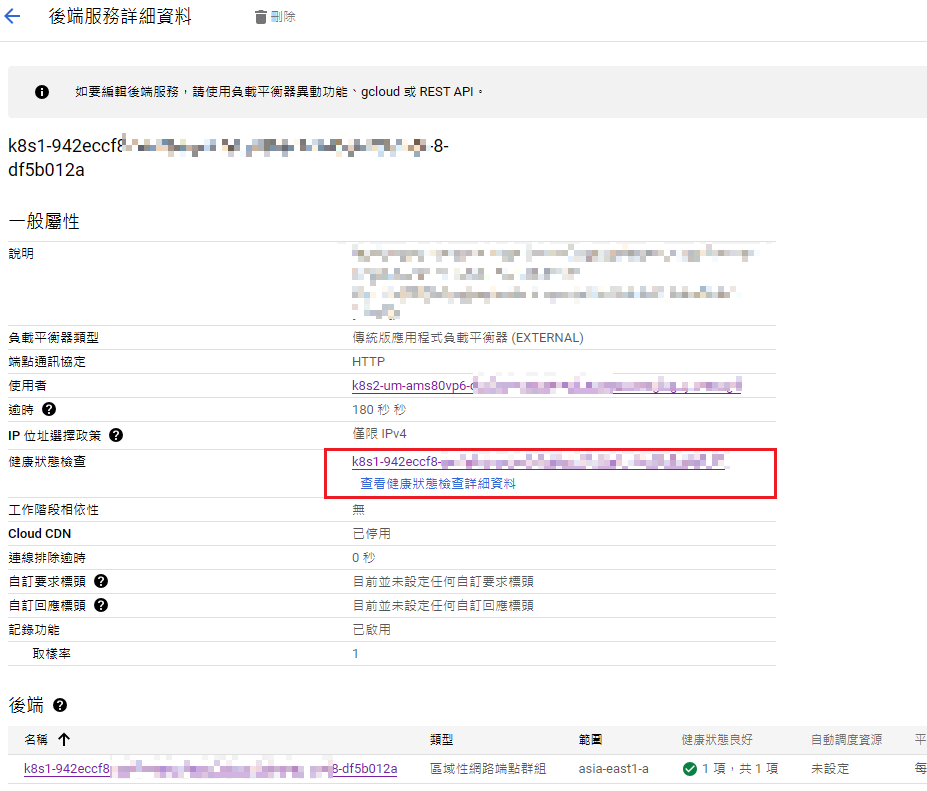
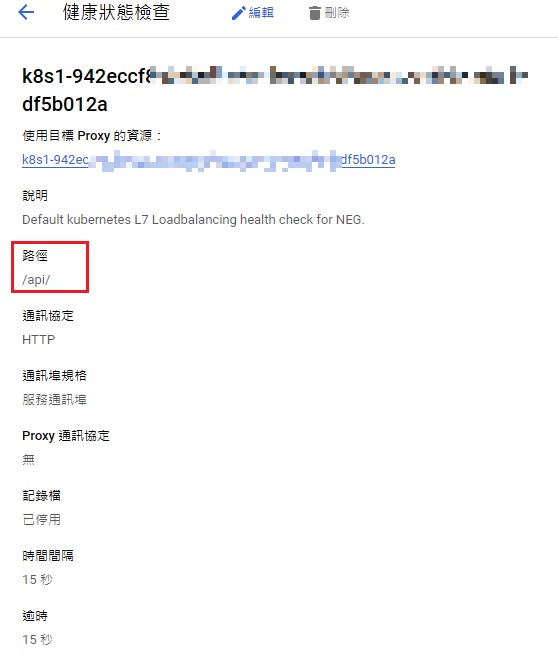
這時候就可以上去看是否有成功連線
-
如果有遇到 deployment 的 container log 內顯示 API Error, 有可能是 k8s 在針對資源健康檢查的部分無法正確 ping 到資源, 記得去正確設定你的 load balancer 的 health check