Starship
下班前同事介紹了一個很酷的工具, 叫做 Starship, 可以讓你的 shell 潮到出水, 趁著剛調整完自己的 shell, 就來記錄一下 (這裡純記錄 Windows 的設定, 並且預設以 PowerShell 為主, PowerShell 版本為 v7)
安裝 Starship
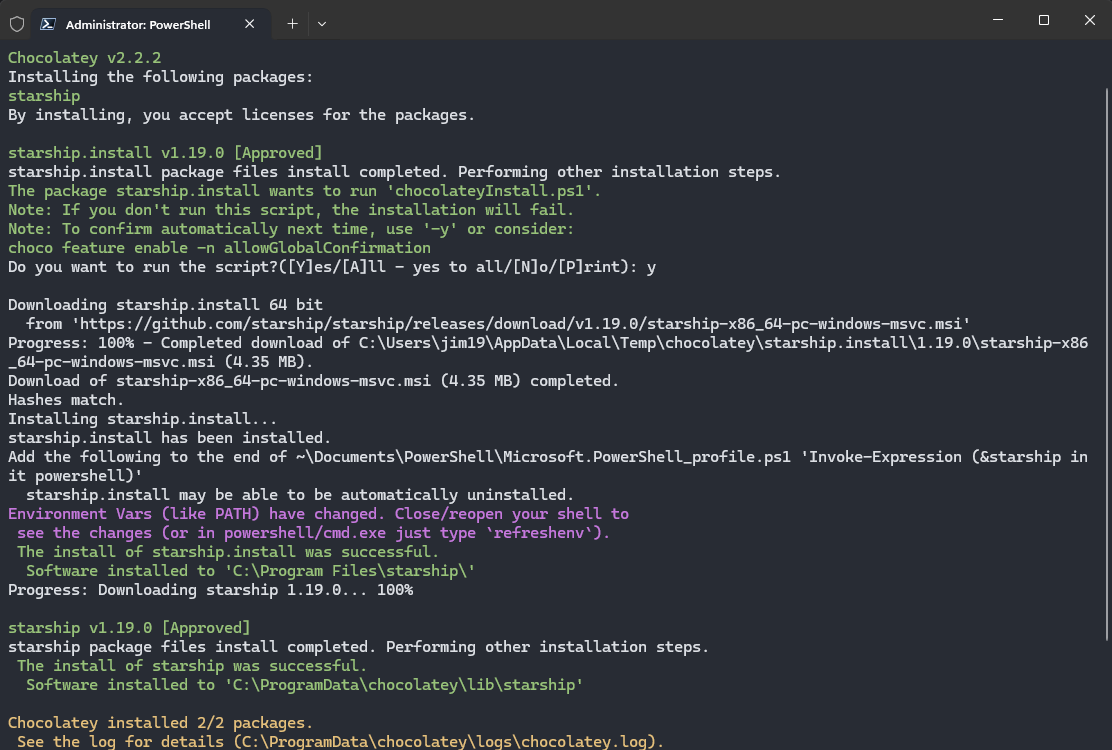
官網提供了很多方式, 這裡選擇使用 Chocolatey 來安裝
choco install starship
安裝完後, 就可以打開你的 shell 並輸入以下
Invoke-Expression (&starship init powershell)
這時候你的 PowerShell 就會切換成 Starship 的樣式了

但是這樣只有在這個視窗才有效果, 而且每次開啟 PowerShell 都要重新輸入指令, 所以我們要把這個指令加入到 PowerShell 的設定檔中
設定 $PROFILE
可以使用 notepad $PROFILE 或 ii $PROFILE 來開啟 PowerShell 的設定檔, 但有可能會沒找不到, 你也可以先用 Test-Path -Path $PROFILE.AllUsersAllHosts 來確認是否有存在檔案

假設沒有, 那就建立一個新的 profile
if (!(Test-Path -Path $PROFILE)) {
  New-Item -ItemType File -Path $PROFILE -Force
}
這時候再開啟一次就會有了

接下來就可以將 Invoke-Expression (&starship init powershell) 加入到設定檔中
Invoke-Expression (&starship init powershell)
這樣每次開啟 PowerShell 就會自動載入 Starship 了
如果你嫌那個 PowerShell *.*.* 有點礙眼, 可以在設定的 Command line 加入 -NoLogo
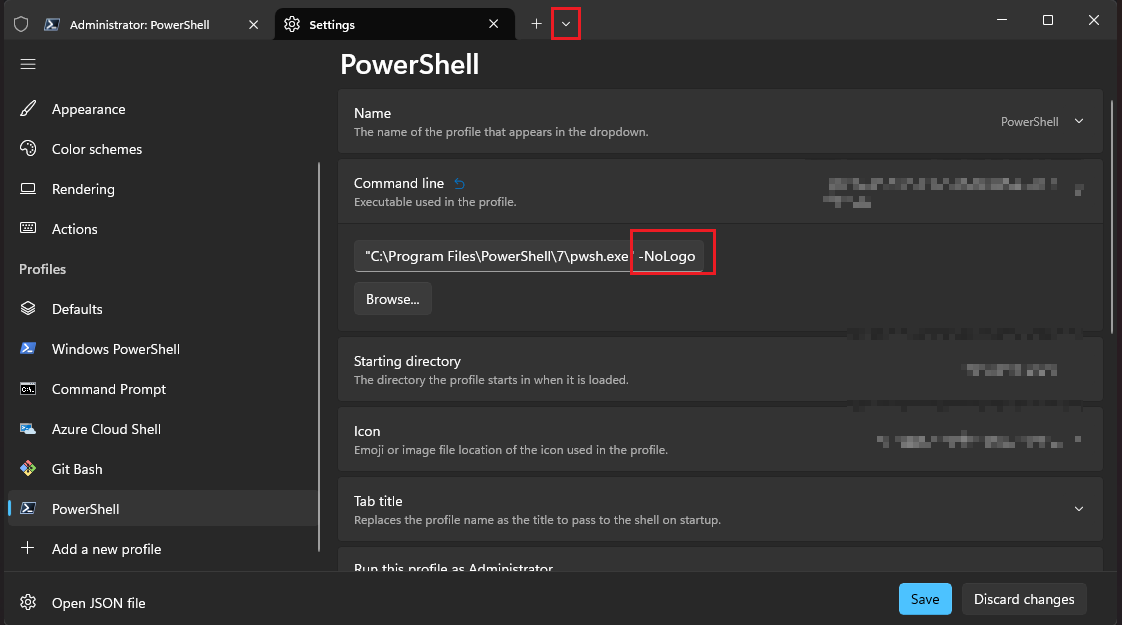
這樣每次開起來就不會有多一行原本的 PowerShell 版本資訊了
附上一些個人習慣用的設定
# 預設使用 starship
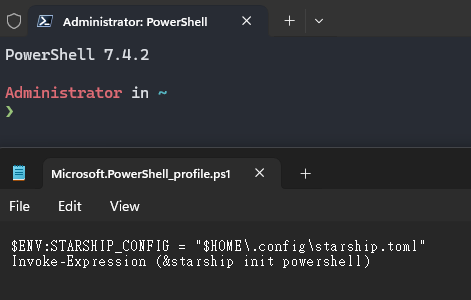
$ENV:STARSHIP_CONFIG = "$HOME\.config\starship.toml"
Invoke-Expression (&starship init powershell)
# 預測輸入的下一個命令, 基於 [None, History, Plugin, HistoryAndPlugin] 四種設定方式
Set-PSReadLineOption -PredictionSource HistoryAndPlugin
# 設定預測的命令顯示方式為 list view
Set-PSReadLineOption -PredictionViewStyle ListView
Set-PSReadLineOption -EditMode Windows
# 取得歷史記錄文件的路徑
$historyPath = [System.IO.Path]::Combine($env:APPDATA, 'Microsoft', 'Windows', 'PowerShell', 'PSReadLine', 'ConsoleHost_history.txt')
# 定義別名 log, 查看歷史記錄
Set-Alias log $historyPath
# 設定按下 Ctrl+w 可以刪除一個最後的單字
Set-PSReadlineKeyHandler -Chord ctrl+w -Function BackwardDeleteWord
#開啟 hosts file
function Open-HostsFile {
$notepadPlusPlusPath = "C:\Program Files\Notepad++\notepad++.exe"
$hostsFilePath = "C:\windows\system32\drivers\etc\hosts"
if (Test-Path $notepadPlusPlusPath) {
Start-Process $notepadPlusPlusPath $hostsFilePath
} else {
notepad $hostsFilePath
}
}
# 定義別名
Set-Alias h Open-HostsFile
Set-Alias pn pnpm
設定 starship.toml
雖然上面已經有啟用了 starship, 但是還沒有進一步做設定讓它看起來更潮, 我們可以透過 starship.toml 來客製化並使用它
首先在 PowerShell 的設定檔中加上使用 starship.toml 的配置, 路徑會是 $HOME\.config\starship.toml
$ENV:STARSHIP_CONFIG = "$HOME\.config\starship.toml"
但一開始可能我們並沒有這個檔案, 所以要到該位置底下自行新增, 接下來就可以開始設定自己想要的樣式, 有興趣的可以直接參考官網的設定說明, 或者參考 refs 中的連結, 這邊附上參考網路上 example 後調整使用的簡單設定
# Get editor completions based on the config schema
"$schema" = 'https://starship.rs/config-schema.json'
format = """
[┌ ](bold #fff)\
$username$git_branch\
$python$nodejs\
$fill\
$cmd_duration$time\
$line_break\
[└ ](bold #fff)\
$directory$package\
$line_break\
$character"""
[username]
format = "[${user}](bold red) "
[character]
success_symbol = '[ ➜ ](bold #1e997b)'
error_symbol = '[ ✗ ](bold #E84D44)'
[time]
disabled = false
time_format = "%X" # Hour-minute-second format.
utc_time_offset = "+8"
style = "bold"
format = '[🕙 $time ]($style)'
[cmd_duration]
disabled = false
format = "[ [$duration](#fff bold) ]($style)"
min_time = 0
show_milliseconds = true
style = "bold fg:#8DFBD2"
[git_branch]
disabled = false
format = "on [$symbol$branch]($style) "
symbol = " "
style = "bold purple"
truncation_length = 10 # default = 2^63 - 1
truncation_symbol = "…"
[directory]
style = "bold #4287f5"
[nodejs]
style = "bold #50fa7b"
修正 symbol 顯示不出來的問題
有可能上面的設定檔中的 symbol 會顯示不出來

這是因為 starship 預設使用的字型是 Nerd Font Symbols, 如果沒有正常顯示, 有可能是我們電腦本身並沒有安裝這個字型
我們可以直接到 Nerd Fonts 的 GitHub 看如何下載字型, 這邊一樣使用 chocolatey 來安裝
choco install nerd-fonts-hack
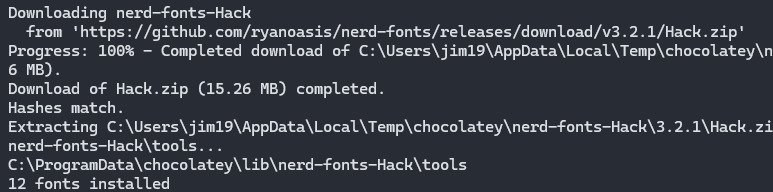
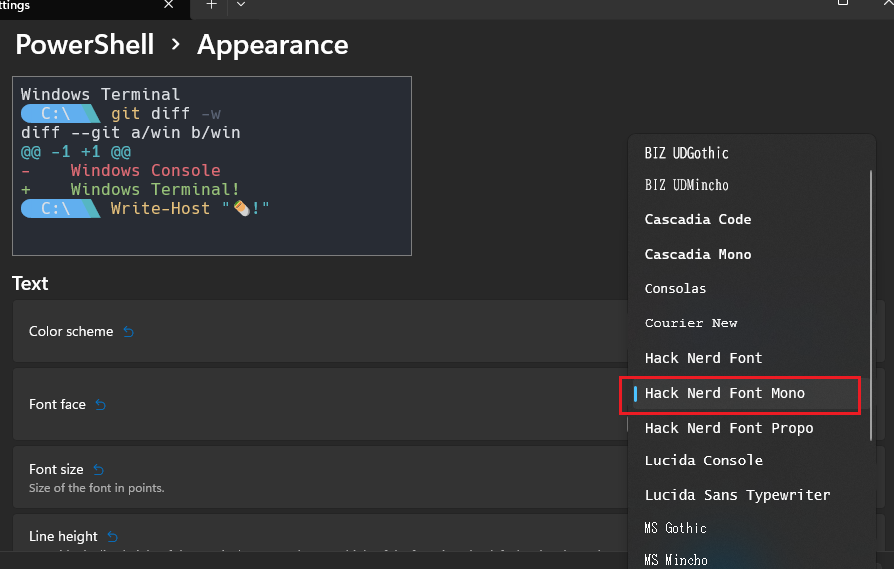
安裝完成後, 再到你的 editor 或 terminal 中選擇這個字型, 這樣就可以正常顯示了

refs