Basic Use (POST)
在 之前 已經嘗試了從 db 中取得 user 資料, 現在試著寫一個註冊方法來新增一筆資料到 user 中 (之前已經建立過的部分就不重覆撰寫可參考上篇)
1. 建立一個 auth 的 service
auth.service.ts
import { Injectable } from '@nestjs/common';
import { InjectModel } from '@nestjs/mongoose';
import { Model } from 'mongoose';
import { USER_MODEL_TOKEN, UserDocument } from '@/common/models/user.schema';
import { CryptUtility } from '@/core/utils/crypt.utility';

@Injectable()
export class AuthService {
  constructor(
    @InjectModel(USER_MODEL_TOKEN)
    private readonly userModel: Model<UserDocument>,
    private readonly cryptUtility: CryptUtility
  ) {}

  async signup(user: any) {
    const { email } = user;
    const password = await this.cryptUtility.encryptBySalt(user.password);

    return this.userModel.create({
      email,
      password
    });
  }
}
為了安全通常都會將密碼加密後再存入 db, 這裡我們寫了一個 cryptUtility:
crypt.utility.ts
import { pbkdf2Sync } from 'node:crypto';
import { Injectable } from '@nestjs/common';
import { ConfigService } from '@nestjs/config';

@Injectable()
export class CryptUtility {
  constructor(private readonly configService: ConfigService) {}
  public async encryptBySalt(input: string, type: 'sha256' | 'sha512' = 'sha256') {
    const salt = this.configService.get<string>('general.salt');
    return pbkdf2Sync(input, salt, 1000, 12, type).toString('hex');
  }
}
pbkdf2Sync是 Node.js 內建的加密函數, 有興趣的可以自行查閱相關文章, 這裡我們type使用sha256來加密, 並且使用從ConfigService取得的general.salt來當作加密的 salt, 然後迭代 1000 次, 最後取 12 bytes 來當作密碼ConfigService為什麼可以直接從CryptoUtility是因為我們在 config import 的設定上設定了isGlobal: true,, 並且已經在app.module.ts中將ConfigModuleimport 進來了, 這樣就可以任何地方都可以使用ConfigService, 如果沒有設定的話, 就需要有用到的 service 各自都要 import 才能使用, 否則會發生錯誤提醒
記得 env 及 configuration.factory.ts 要設定 general.salt 的值
env 記得不要放到 cloud:
.env
SALT=YOUR_SALT
configuration.factory.ts
// ...
export const generalConfigFactory = registerAs('general', () => {
  return {
    // ...
    salt: process.env.SALT || ''
  };
});
2. 建立 auth.controller.ts, 引入 auth.service.ts 並設定 api route
auth.controller.ts
import { Body, Controller, Post } from '@nestjs/common';
import { AuthService } from '@/features/auth/auth.service';

@Controller('auth')
export class AuthController {
  constructor(private readonly authService: AuthService) {}
  @Post('/signup')
  signup(@Body() user: any) {
    return this.authService.signup(user);
  }
}
3. 建立 auth.module.ts
auth.module.ts
import { Module } from '@nestjs/common';
import { CryptUtility } from '@/core/utils/crypt.utility';
import { UserModule } from '@/features/user/user.module';
import { AuthService } from './auth.service';
import { AuthController } from './auth.controller';
@Module({
  imports: [UserModule],
  providers: [AuthService, CryptUtility], // 這裡要記得加入 CryptUtility, 因為 AuthService 有使用到該 utility
  controllers: [AuthController]
})
export class AuthModule {}
4. 最後修改 app.module.ts, 引入 AuthModule
app.module.ts
import { loadConfigImports } from '@/config/configuration.import';
import { UserModule } from '@/features/user/user.module';
import { AuthModule } from './features/auth/auth.module';
@Module({
  imports: [...loadConfigImports(), UserModule, AuthModule]
  // ...
})
export class AppModule {}
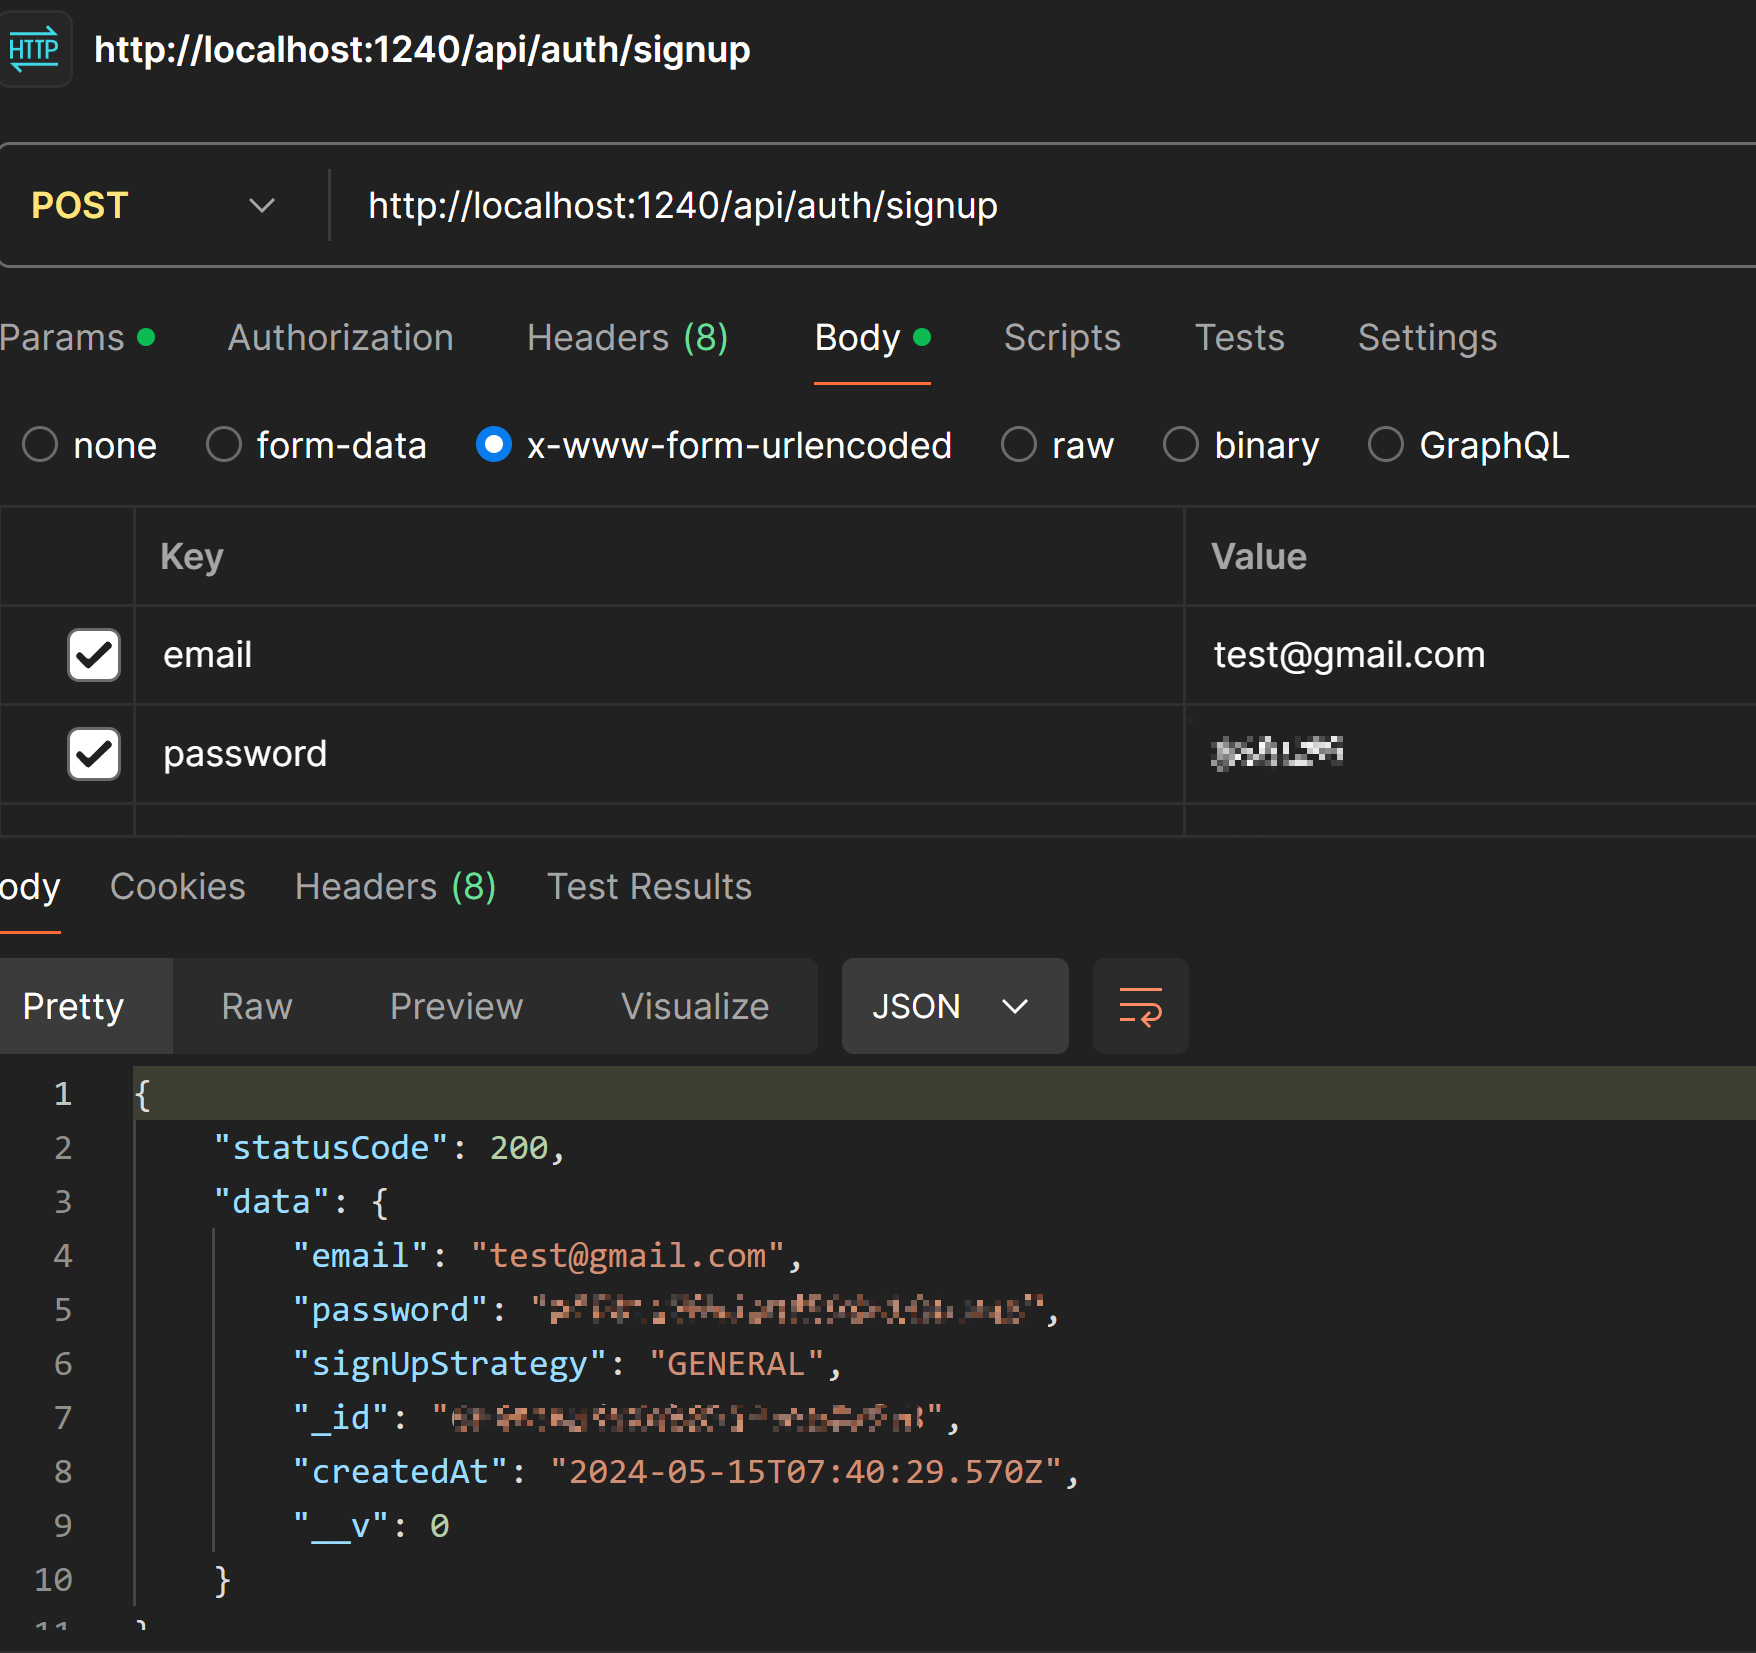
這樣就完成了一個簡單的使用者註冊(只是簡單的撰寫, 詳細遇到的問題都需要另外再調整, ex: Exception w/ mongo error), 現在可以使用 postman 或 curl 來測試看看是否成功.
refs: